Showing posts with label decoration. Show all posts

Monday, April 14

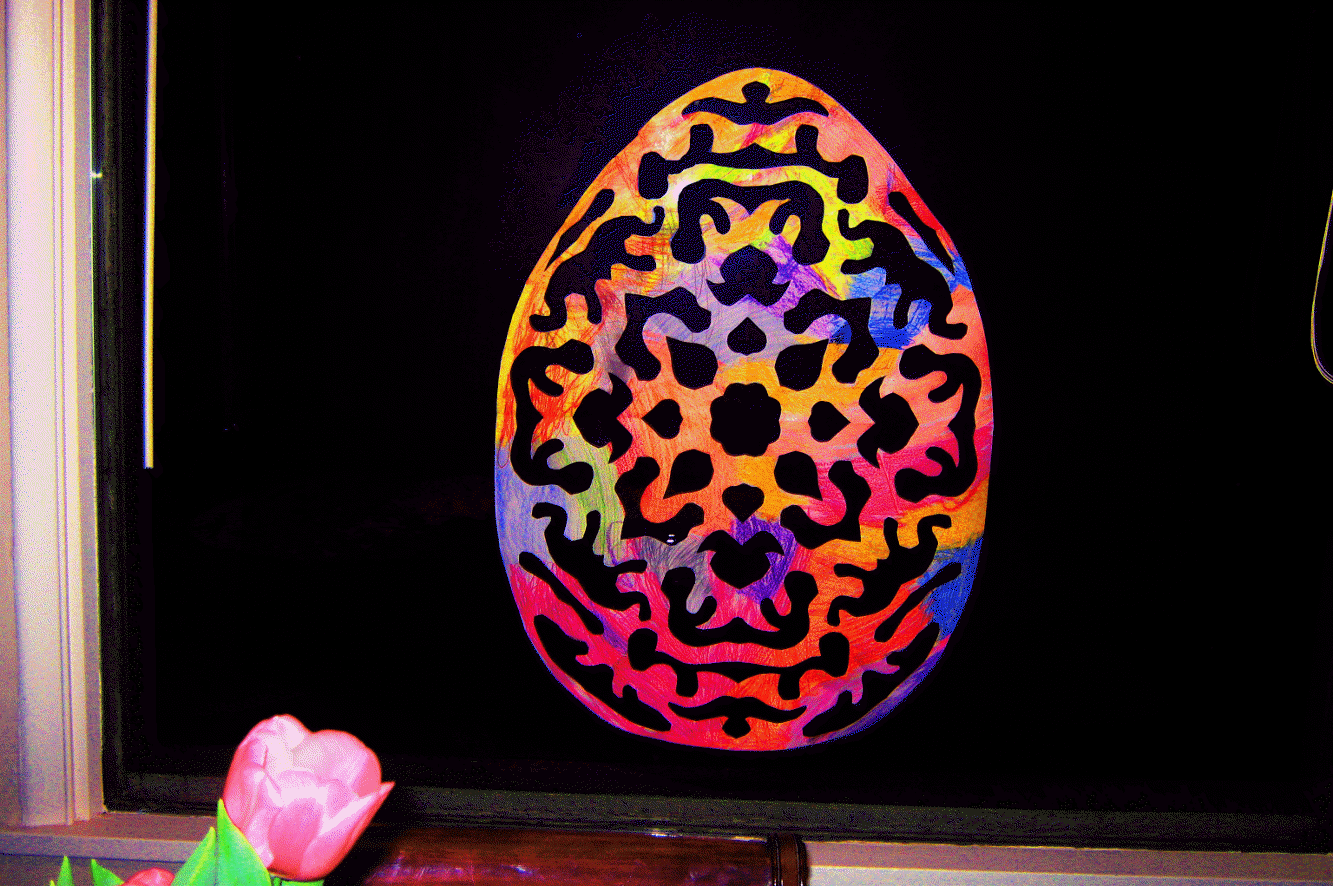
Paper Stained Glass Easter Egg!!!


How to make a stained glass paper Easter egg


This was a little project I did with my grandkids.  They had so much fun!  They were all coloring and it didn't matter how they colored or if they went outside of the lines.  Just a great big scribbling fest!

How to make a stained glass paper Easter egg

I picked up some poster paper (15 cents a foot) at a craft store, drew the egg on it with a pencil and let the grandkids go at it!

I did a little "how to" video with instructions to make the stained glass paper Easter egg and also for the solid colored Easter egg too.  Just click below or on any of the photos to start the video :)


How to make a snowflakish Easter Egg!!!
 
You can decorate a whole house with these large (3 feet by 2 feet) Easter eggs.  You can buy the poster paper in a lot of different colors: pink, red, green, blue, purple, yellow, orange, etc. 

I get more compliments on these simple to make paper Easter eggs than I do on any of my other Easter decorations.

Have so much fun with this quick and easy project and . . .

Happy Easter Time!!!

Friday, April 11

Easter Egg Time!!!

Happy Happy April Everyone!!!
Isn't springtime the best; not too hot, not too cold, just right . . .

Easter is later this year.  This is good, it's given me time to make something I've wanted to do for a long time.
My mom has this wire tree on a rock that she purchased years and years ago.  When I was a kid, I got to hang cute little miniture Christmas ornaments on it.
Years later after I was grown and gone, my mom started hanging hearts on it for Valentines Day, then eggs for Easter, then little bats and jack o' lanterns on it for Halloween.
Anyway, I have wanted a tree like that for a long time and have never seen one in any stores, so I made one and it was easy!!!

How to make the wire tree
Just click on the photo above or on the link below for a "how to" video I did to show you how to do it:

 
The possibilities are endless on how big you want to make it, or how wide you want the trunk, or what color wire to make it with.  You can also choose how full of branches you want the tree to have etc.

The eggs are a fun, quick, and easy project too.  Not to mention, perfect for my little tree!

How to make clay Easter eggs
These cute Easter eggs are made from oven bake clay.
Here's a "how to" video I did to show you how to make them, just click on the photo above or on the link below:

How To Make Easter Egg Ornaments

The clay eggs can also super easily be made into earrings, a bracelet, and a necklace.  And you can make them any size you want.  Here's a pic of the ones I made with a ruler, so you can see how big they are.


How to make clay Easter eggs

Enjoy this lovely springtime and Easter season!!!

Wednesday, January 22

Weave a Heart Basket

Here is a really fun Valentines project to make.  
The "how to" video I did has step-by-step instructions.  The link is immediately below:


If the kids need something to hold their Valentines in from school, this heart basket is perfect and it is easy to make.

The large size (shown above)makes a great door decoration and you can either leave it empty or fill it with with stuff for your door decor (fillers could include red and white tulle, artificial flowers, more hearts, red cellophane, or whatever!).

On the large heart basket, I used two sheets of poster board (a red one and a white one).  For smaller ones, you can use regular copy paper or scrapbook paper.


The smaller heart basket also makes a pretty Valentine decoration and a great gift with a heart shaped sugar cookie or other Valentine candies inside of it!


This heart basket is a project for adults and kids both. It is quick and easy and only involves paper and scissors (a pencil, ruler, and tape or stapler are handy too).


Happy Valentines Day preparations!!!
~Feel the love start to flow ~

Tuesday, November 6

Now a Star!


In my last blog post I showed how to fold flowers.  Here's another variation on this post. 
Instead of folding flowers and snowflakes, using the same simple technique you can make a beautiful star. 

So here is a quick video I did, to show how to make this star!


There are lots of ways to decorate this simple star too.  You can keep it simple, or you can add glitter, or epsom salts (just spray with adhesive and sprinkle epsom salts on the star and it resembles sparkly snow), or attach stickers or rhinestones to the star, just whatever you have on hand. 


It's an easy craft for kids.  They can color the sheet of paper you are going to use for the star first, then they can fold it and cut it and then add decorative stuff to it after it is folded, cut, and taped together.

I also love how easy it is to attach to the top of your Christmas tree, or if making several stars for tree ornaments, the wire twist tie is so easy to attach to branches all over your tree.

If making the stars to hang from your ceiling, windows, or doorways, just staple the center instead of using a twist tie or wire in the middle of the center crease.  Then tape some yarn or string or fishing line to one of the points of the star and tape the other end of the yarn, string, or line to the ceiling or door frame. 
This is a pretty decoration, hanging from the ceiling or doorway because both sides of the star look beautiful (there isn't a "wrong" side).

Oh, I'm getting so excited for the Holidays!!!!!!!!


Wanna learn something else? Just click.

Related Posts Plugin for WordPress, Blogger...